


Plan Your Cross-Stitch Patterns in Procreate
Beginner-friendly guide to setting up, using grids, and crafting your design with Procreate tools.

Hello! 🙌
Want to plan your cross-stitch patterns in Procreate but not sure where to start? This guide is for you!
Procreate is a fantastic tool for designing your own charts, and it's easier than you might think. We'll cover:
Setting up your canvas for cross-stitch (especially for printing).
Creating a perfect grid (with free brushes included!).
Using Procreate's tools to easily plan your design digitally.
Let's get your next pattern planned out!
Step 0. Create a New Canvas
In Procreate, start by tapping the ➕ icon in the top right corner of the Gallery.

A menu will appear. From this menu, tap the New Canvas icon (it usually looks like a rectangle with a + symbol, often found at the top right of this menu) to open the Custom Canvas settings.

In the Custom Canvas window, configure the following:
Set the DPI: If you plan to print your cross-stitch pattern, setting the DPI (Dots Per Inch) to 300 is crucial. This ensures good print quality.
Choose Units & Dimensions: Select your preferred unit of measurement – Inches, Centimeters, or Millimeters. Then, enter your desired Width and Height for the canvas. Choosing a physical unit (rather than pixels) here will help you better visualize and control the actual printed size of your pattern.
(Optional) Name Your Canvas: You can also give your canvas a name at the top of this screen. It's a good habit (as they say😉).
Create: Once you've set the DPI, dimensions, and (optionally) the name, tap Create.
If you're aiming for standard paper sizes (especially if you, like me, don't have a fancy printer at home and want to print on common paper), you might use settings for A4 or Letter. Below are the dimensions for these canvas sizes:
A4:
Width: 210 mm
Height: 297 mm
DPI: 300
Letter:
Width: 8.5 inches
Height: 11 inches
DPI: 300
Step 1. Create a Grid
Now you have an empty canvas ready for your design!
To effectively plan your cross-stitch pattern, you'll need a square grid. While I offer fine-tuned grid brushes as part of my embroidery brush sets (which you're welcome to use if you have them), I want this guide to be useful for everyone. Therefore, I’m also sharing a set of complimentary grid brushes that you can download by tapping the button below.
These free brushes are constructed to create a grid of 10x10 square blocks, a format traditionally used for planning cross-stitch patterns.
Quick Tip: How to Install Brushes in Procreate
After downloading, open your iPad's Files app and locate the downloaded .brushset file (it usually lands in your 'Downloads' folder or wherever you chose to save it).
Simply tap on the file.
Procreate will automatically open and the brushes will be imported. You'll typically find the new brush set at the top of your Brush Library list.
Once you've installed them, select one of these grid brushes from your brush library and draw on your canvas to create a grid of the desired size.

Step 2. Set the Grid Layer as a Reference
First, ensure your grid layer is selected and active (it will be highlighted in blue in the Procreate Layers panel). If it's not, simply tap on it to select it.

Next, you'll set this grid layer as a Reference Layer. This is a special Procreate feature that allows you to use this layer as a guide for tools like ColorDrop on other layers.
To set the grid layer as Reference:
Tap on the grid layer in the Layers panel to open its Layer Options menu.
From the menu, tap on Reference. A checkmark will appear next to it, indicating it's now set as your Reference Layer.

(Optional but Recommended) Rename the Layer.
You might also want to rename this layer to something more descriptive, like "Grid Reference" or "Grid," instead of the default "Layer 1." To do this, tap the layer again in the Layers panel and choose 'Rename' from the menu.

Finally, to make the grid less distracting while you work on your pattern, lower its opacity. You can do this by tapping the 'N' (which stands for Normal blend mode by default) on the grid layer in the Layers panel and then adjusting the Opacity slider that appears. An opacity around 15-30% often works well, but choose what's comfortable for your eyes.

Step 3. Create a New Layer for Your Pattern
Now, create a new layer where you'll actually draw your cross-stitch pattern. This new layer should be above your grid layer.
To do this, open the Layers panel (if it's not already open) and tap the + icon, usually found at the top right of the panel.
This new layer is where you'll start creating your pattern.
Pro Tip: You can (and often should!) create multiple layers for your pattern, for example, using a separate layer for each different color of thread. This makes editing much easier. Just remember that your "Grid" layer (from Step 2) needs to remain set as the Reference for tools like ColorDrop to work correctly with your pattern layers.

Step 4. Create Your Pattern using Selections and Color Fill
Ensure the new layer you created in Step 3 is selected and active.
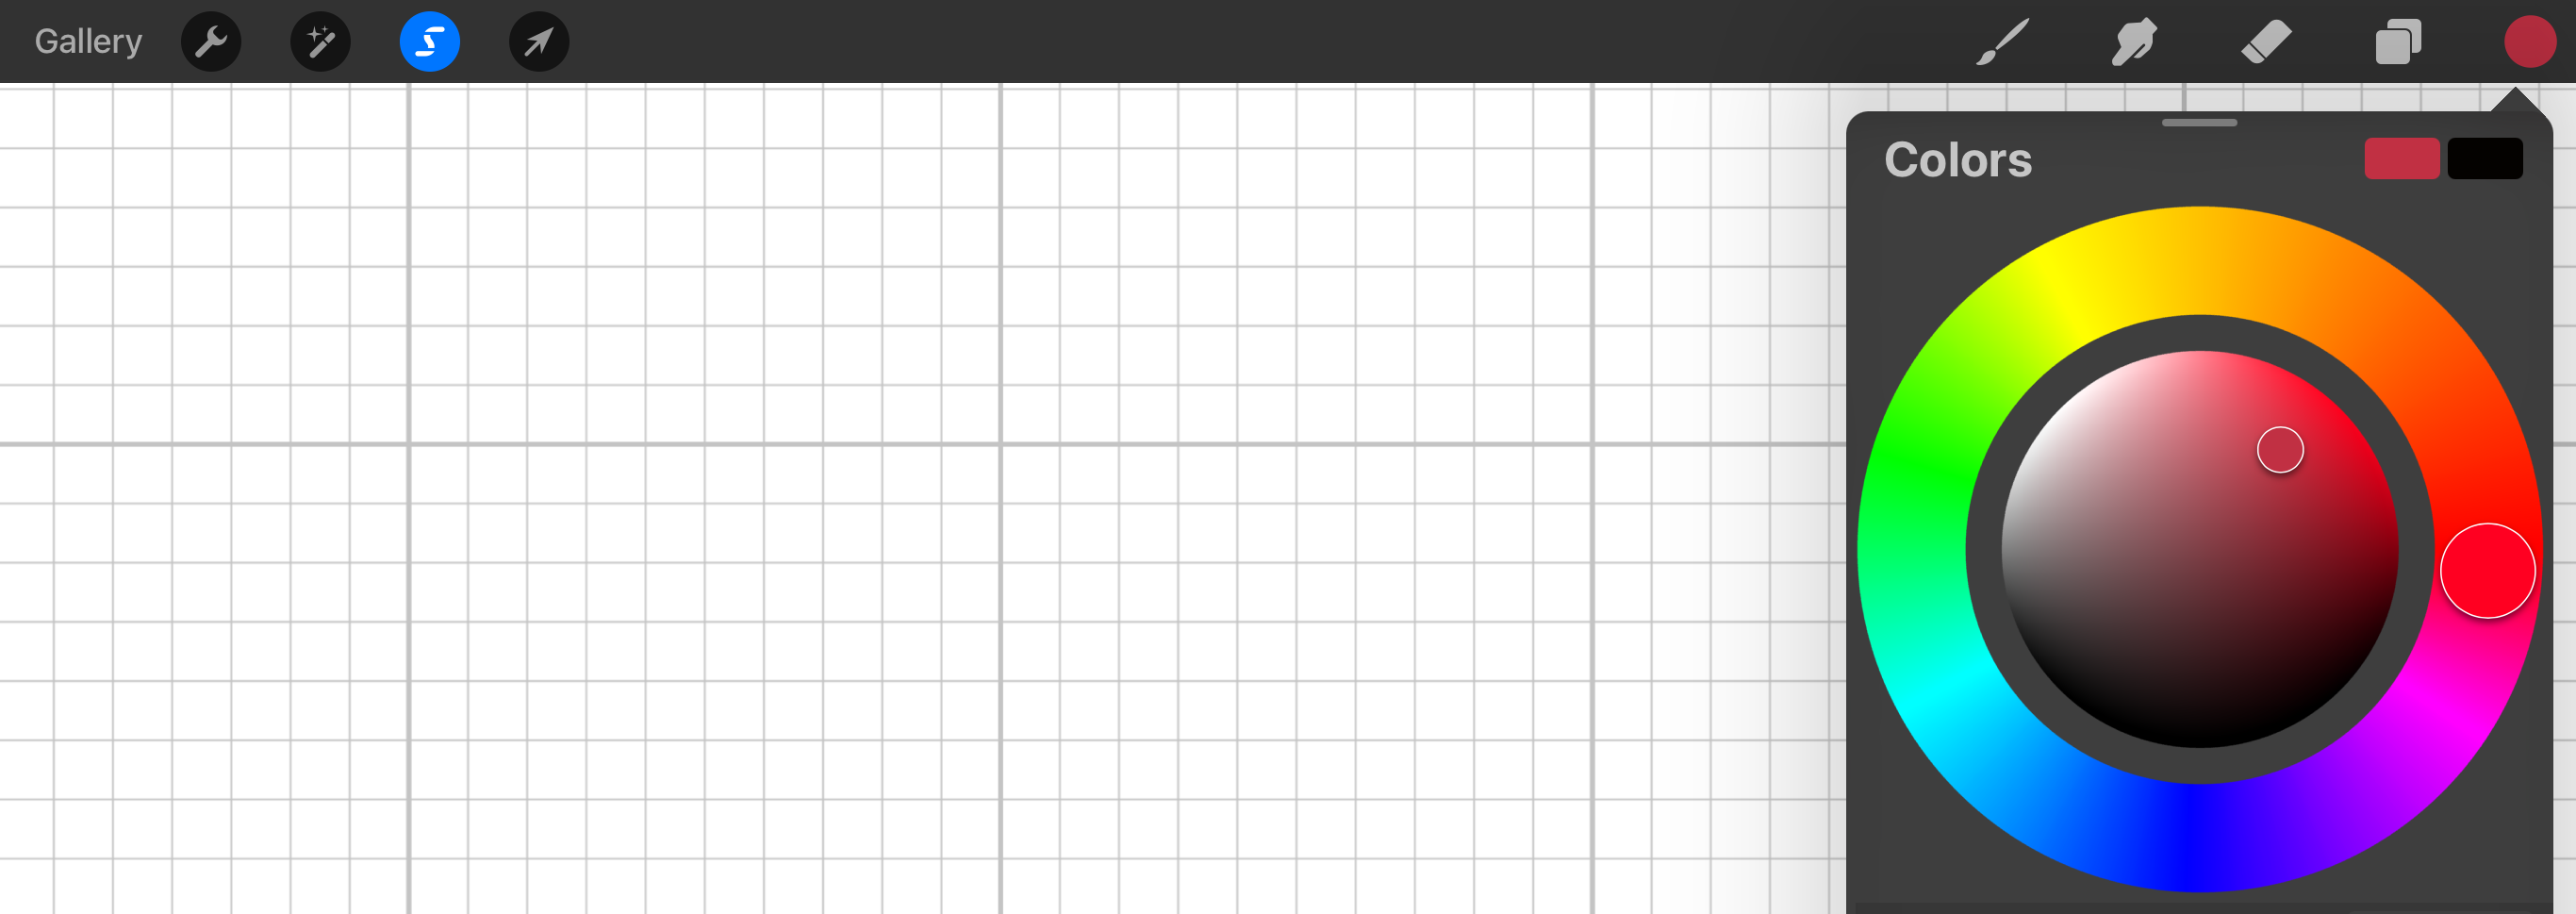
Activate Selection Tool.
Tap on the Selection tool (the S-shaped icon in the top left toolbar).

Set Selection Mode.
A menu will appear at the bottom of your screen.
Ensure Automatic is selected as the mode.
Crucially, make sure the Color Fill toggle switch (in that same bottom menu) is turned ON (it should be blue). This tells Procreate to fill the selection with your chosen color as you tap. This works because your grid is set as a Reference Layer (Step 2), so Procreate will use it to define the boundaries of your fill on your active pattern layer.

Choose Your Color.
Select the color you want to use for this part of your pattern from the Color Palette. For example, if I'm creating a heart shape, I'll pick red.
Fill Your Grid Squares.
With the Selection tool still active and Color Fill ON:
Carefully tap inside each grid square on your canvas where you want to place your chosen color. The square should fill with color, respecting the grid lines from your Reference Layer.

‼️ Important Note on Filling:
Work on the correct layer: Double-check you are on your pattern layer, NOT your grid layer.
Tap inside squares: Aim to tap cleanly within a grid square. If you tap directly on a grid line, the fill might not behave as expected or might fill the grid itself.
If a mistake happens (e.g. you fill the wrong square or the color bleeds): Simply undo your last action by tapping the screen with two fingers. You can also adjust the "Selection Threshold" if fills are consistently bleeding or not filling enough, though with a clear grid this is less common.

Deactivate Selection Tool.
Once you're happy with the placement of this color, tap the Selection tool icon again to deactivate it. You can now choose a new color and repeat the process, or switch to a different technique.

Hope this was helpful!
Until next time, please feel free to leave any questions you have in the comments below.
With 💖,
Kate from bokettori
Thanks for this great tutorial!!! I must be really bad because no matter what I do, the colour goes all over the layer and not in the little squares...
I'm on 300 dpi, grid on layer 1, set up as reference, a new layer above it.... I don't understand